To turn text into an image, describe one visible moment: the subject, its surroundings, the light and how you want it framed. Choose the image shape before generating, then check the result against the job it needs to do.
FrameSurfer's Text to Image tool creates one still image from a written description. You can use it to explore a visual idea, prepare an image for a post or make a starting frame for a video. This guide walks through the workflow with a fictional camping example and a reusable prompt structure.
How to use Text to Image in FrameSurfer
- Open Text to Image. Enter your description in the Image prompt field. Start with what should be visible in the finished still.
- Choose the aspect ratio. The tool offers 9:16, 1:1 and 16:9. Pick the shape that suits where the image will appear.
- Select Generate. You can prepare the prompt while signed out. Generation requires an account on a plan; the public page explains that your prompt carries into the tool after signup. Check your available credits and the generation cost before running it.
- Review the image before downloading it. Each run produces one image. If you want another version, revise the prompt and generate again. Once you have a useful result, download it or take it into the Image to Video tool.
The useful decision happens before step three: what would make this image suitable for your post or scene? An attractive result can still be awkward if the subject fills the space where your headline needs to go.
Give the image one job
Imagine you are making an opening image for a fictional video about quiet weekend camping. You need one orange tent, a calm forest setting and clear space for a title you will add later.
That brief is more useful than “make an amazing camping picture.” It gives you something concrete to judge: one tent, a readable silhouette and an uncluttered title area.
For another project, the job might be different:
- A social-post background needs room for the message you will place over it.
- A storyboard still needs to show the subject and setting clearly enough to plan the next shot.
- A visual concept can explore an invented object or location without pretending to document a real one.
Decide which details are essential and which the generator can invent. For the camping example, the tent color matters. The exact arrangement of distant pine trees does not.
Turn the brief into a clear image prompt
Use this as a flexible starting point:
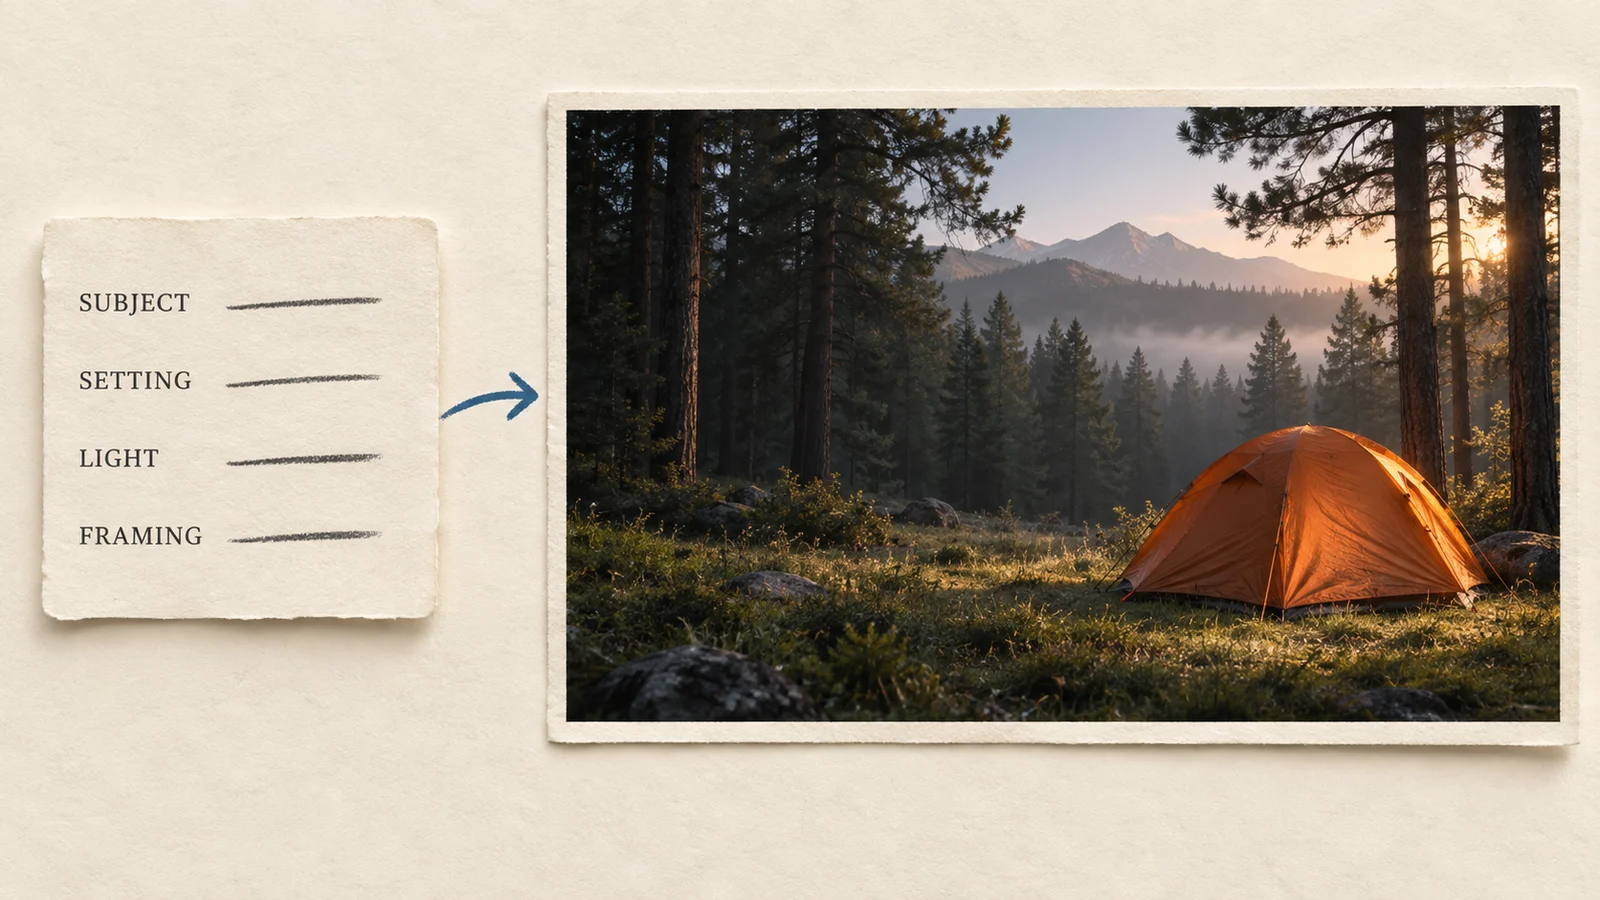
Subject + setting + light + framing + visual style
Here is how those parts fit the camping image:
| Part | Direction for this example |
|---|---|
| Subject | One burnt-orange dome tent |
| Setting | A quiet clearing in a pine forest |
| Light | Soft dawn light from the side |
| Framing | Tent on the right, uncluttered space on the left |
| Style | Realistic outdoor photography |
The finished prompt could read:
One burnt-orange dome tent in a quiet pine forest clearing at dawn. Soft side light reveals the tent fabric and grass. Place the tent in the right third, with an uncluttered darker forest area on the left for a title added later. Realistic outdoor photograph, without people or written text.
Choose 16:9 in the tool for this wide composition. The prompt explains what belongs inside the frame; the aspect-ratio control sets its shape.
This is an illustrative brief, not a record of a tested FrameSurfer generation. The images in this article are AI-generated editorial illustrations of the idea, not screenshots or measured product results.
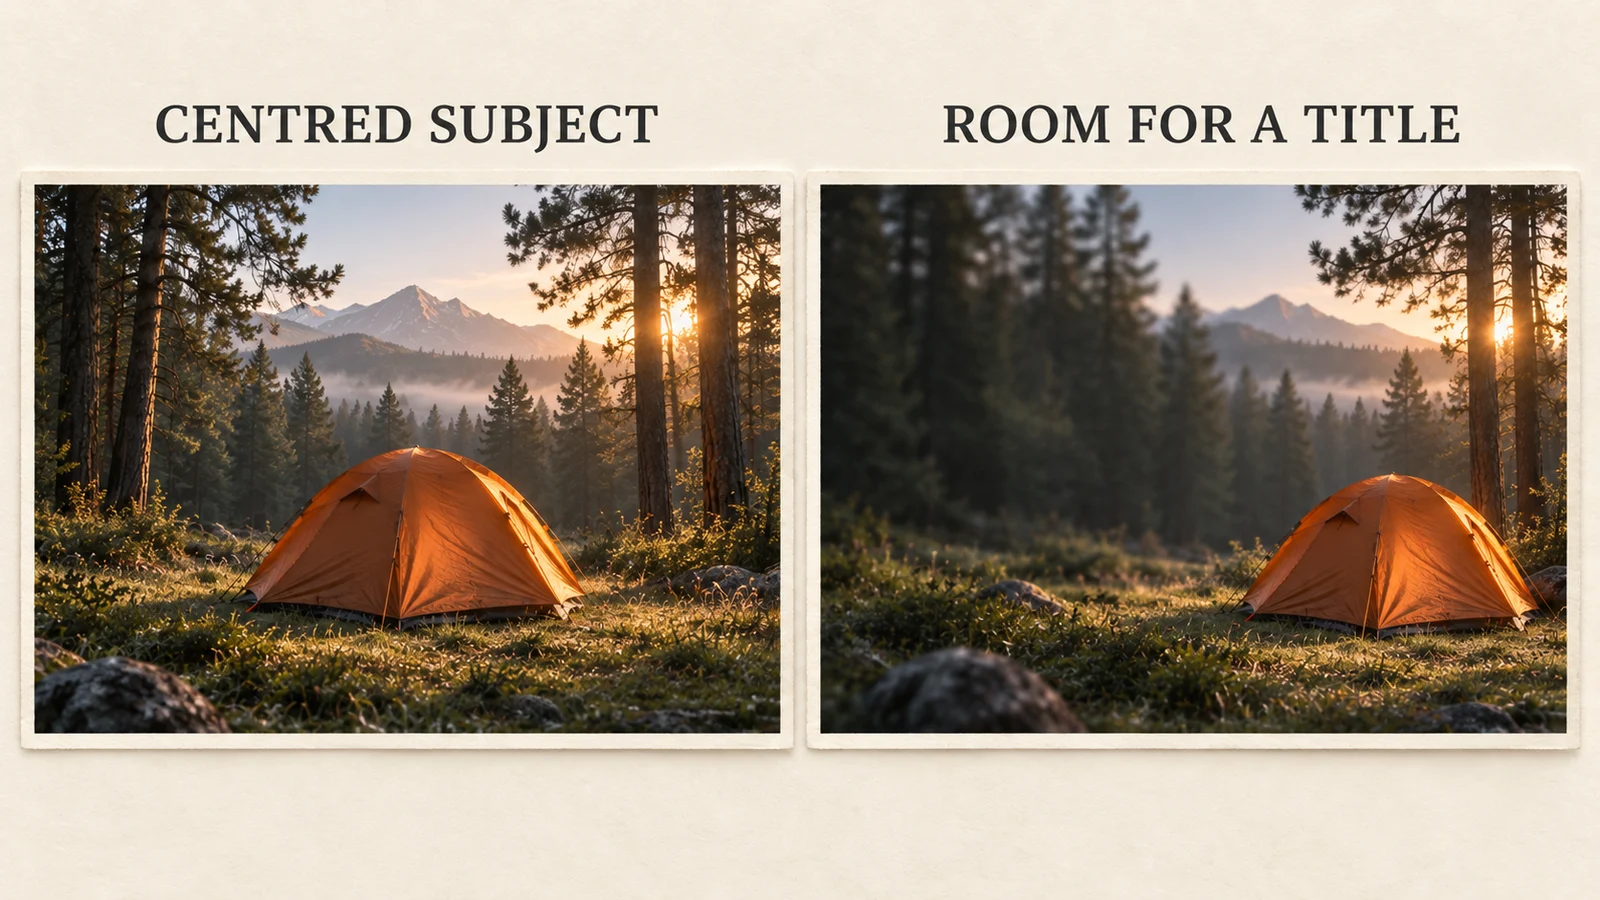
Composition example: a centered subject and a subject placed beside open space serve different layouts. The second arrangement leaves a clearer area for text added in an editor.
Notice what the prompt leaves out. It does not describe the camper arriving, pitching the tent and watching sunrise. Those are separate moments. A still-image brief should describe the frame you want to see.
It also avoids a long list of competing looks. “Realistic photograph” gives a clear direction. Adding watercolor, flat illustration and polished 3D to the same brief makes your intention harder to assess.
For supporting guidance, Adobe's image-prompt documentation recommends specific descriptions and deliberate choices about style and lighting. Midjourney's prompt guide likewise emphasizes clear subjects, environments and composition. Their controls differ from FrameSurfer's, so use the general writing principles rather than copying tool-specific commands.
Pick the shape before judging the composition
Aspect ratio describes the relationship between width and height. It does not tell you the image's pixel resolution.
| FrameSurfer option | Shape | A useful starting use |
|---|---|---|
| 9:16 | Tall portrait | An image intended to fill a vertical video frame |
| 1:1 | Square | A square post or compact visual card |
| 16:9 | Wide landscape | A widescreen scene, presentation image or opening frame |
Choose for your actual destination. These are layout examples, not a claim that every social platform requires one shape.
If you need a vertical camping image, rewrite the framing direction as well as changing the ratio. For example: “Show the whole tent in the lower half, with tall trees and open sky above.” That creates a different brief from the wide version's empty area on the left.
A crop can remove a tent edge, a person's hands or the detail that made an image useful. Inspect the intended crop before you commit to it. Keep an uncropped copy so you can return to the original if the layout changes.
Review the result, then revise one clear issue
Look at the image at the size you expect people to see it. Then zoom in to inspect important detail.
For our camping brief, check whether there is one tent, whether its shape is plausible, whether the lighting matches dawn and whether the left side is quiet enough for a title. Those checks tell you more than deciding only whether the picture looks impressive.
| If you see this problem | Try this next |
|---|---|
| The subject feels too small | Ask for a closer view and describe how much of the frame it should occupy. |
| The background competes with the subject | Simplify the setting and remove unnecessary objects from the brief. |
| There is no usable space for a headline | Name the side that needs open space and the side where the subject should sit. |
| The result mixes incompatible styles | Choose one main visual treatment and remove contradictory style words. |
| Important shapes or details look wrong | Inspect them closely; revise the relevant description or use an image-editing workflow for a result you want to retain. |
Change one clear instruction at a time when you are trying to understand a problem. For example, keep the camping subject and lighting but replace the framing sentence. A new generation may change other details too, so this is a way to make your decisions easier to follow, not a promise that everything else stays fixed.
Save useful versions before trying alternatives. For an image that needs an exact headline, price or logo, adding those elements separately in an editor gives you a direct way to inspect and correct them.
Start with a photograph when the exact subject matters
Text to Image is useful when you want to create a new visual from a description. If your task depends on an existing photo, choose the input route that matches that need.
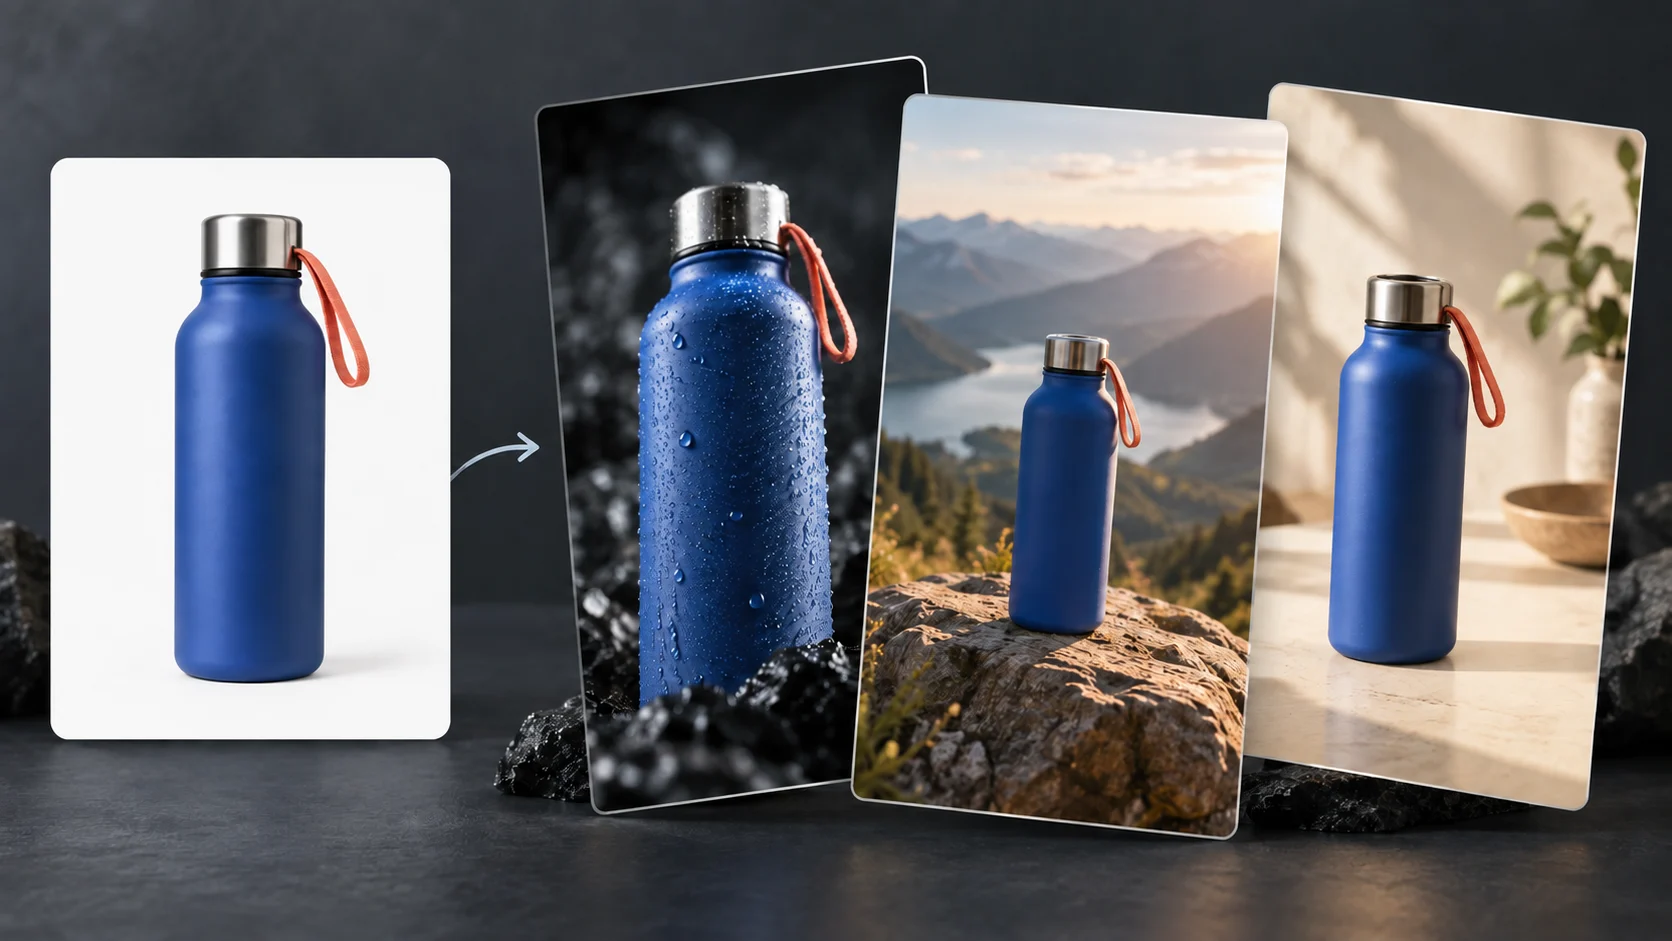
Image Edit starts with a supplied image and a requested change. Product Photo starts with a product photo and a scene brief. Inspect the result carefully when product shape, packaging or other real details matter; a description of an orange tent does not identify a specific tent you sell.
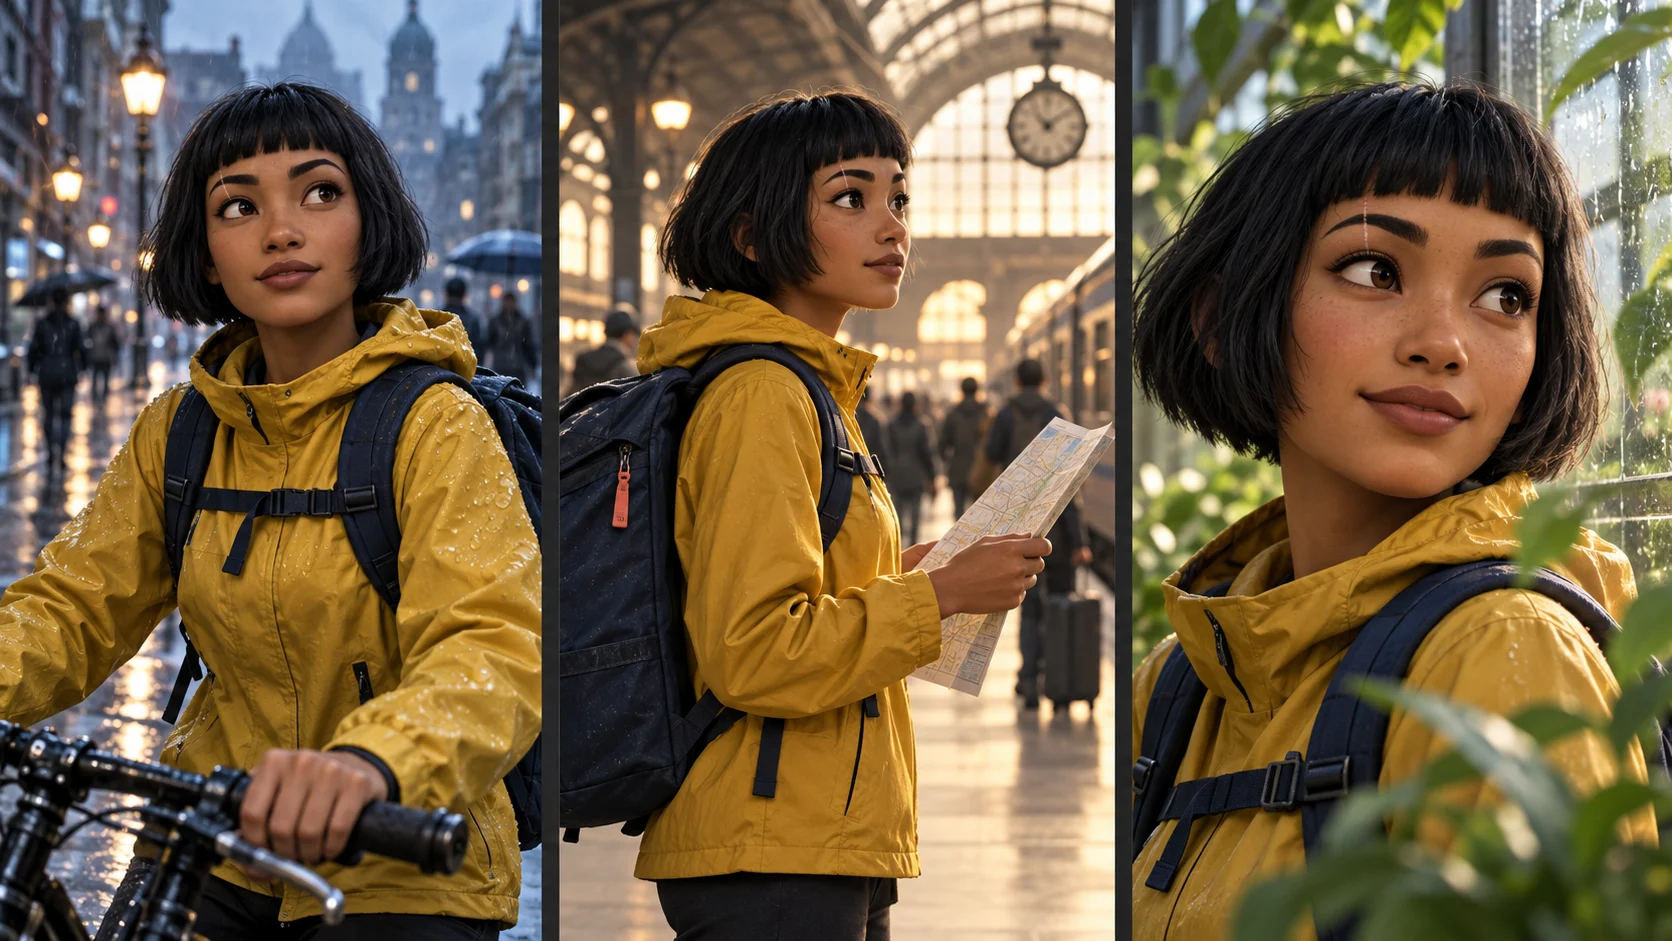
If you are preparing a recurring character, a clear portrait can become part of the reference material. Our character-consistency guide explains what to preserve across scenes and what to check afterward.
Keep the still useful for the next step
Once the image passes your checks, download the version you want to use and keep the prompt with it. That record helps when you need another image with similar lighting or framing.
If the next step is animation, use the still as the starting image in Image to Video, then describe the movement separately. For the tent, a restrained idea might be a gentle movement of the fabric while the camera holds its position. Inspect the animated result again; a sound still does not guarantee that every detail will remain unchanged during motion.
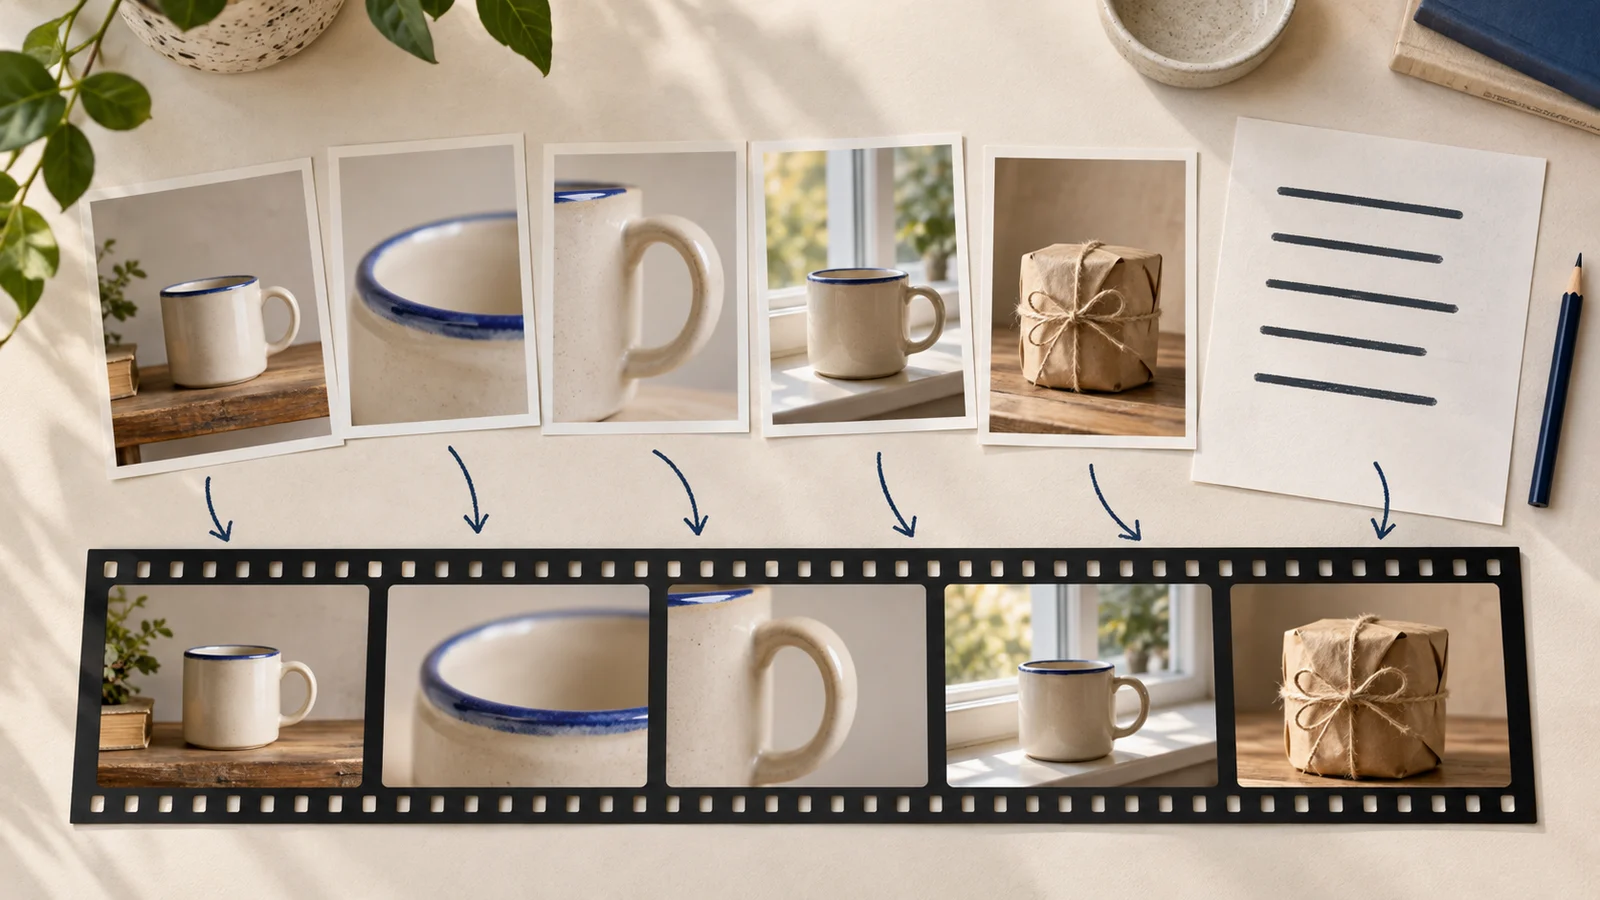
For a longer piece with several images and written narration, follow our guide to making a video with your own images and script.
Start your first Text to Image prompt in FrameSurfer with one subject and one clear use. Choose the shape, describe the frame and judge the result against that brief.