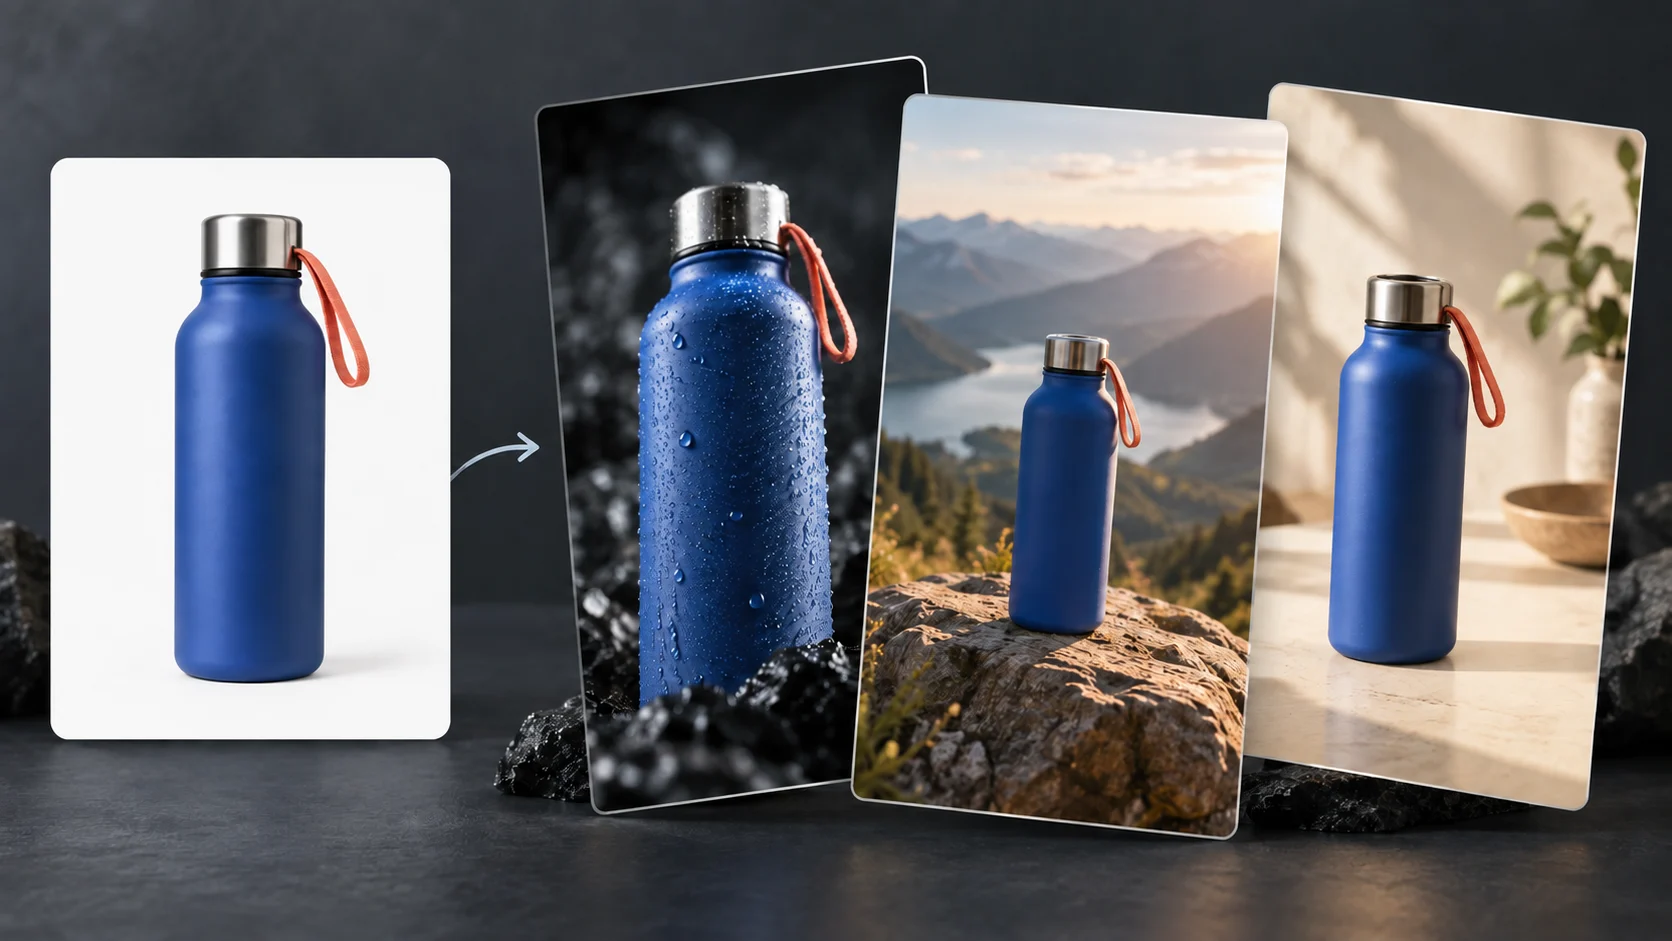
AI product photography means you photograph a product once. An AI model then places that same product into new scenes, like a kitchen counter or a sunlit step. The setting and light change. The product should not.
The workflow is simple. Shoot one sharp photo on a plain background. Describe each scene in a short prompt that says the product stays as it is. Then check every result against the real item before it goes on a listing.
Below: real examples, a prompt template, scene ideas, and the Amazon, Shopify and Etsy image rules as of September 2026.
What AI scenes are good for
AI scenes are strongest for pictures that show context: where the product lives, how it is used, what season it is. Each of those used to need its own setup. Now one upload can become a whole set.
They are weaker at what buyers use to judge the exact item: fine print, true color, texture and size. A model can redraw small letters or make a mug look bigger. Shoot those details for real.
Step 1: Shoot one clean source photo at home
The source photo sets the ceiling for every scene. FrameSurfer's Product Photo tool asks for one clear photo, noting that a plain background gives the model the most to work with. A phone, a window and a sheet of paper are enough.
Light. Set up next to a window with soft daylight, not direct sun. Side light shows shape and texture. Shopify's product photography guide suggests a reflector, even white poster board, opposite the window to soften shadows.
Background. Use plain white or light grey. A sheet of paper that curves from the wall down onto the table, called a sweep, hides the corner line.
Angle. Shoot from the angle you want in the finished scenes. The tool keeps the product as it is, so the view you shoot is the view you get. In the sneaker example below, the side profile stayed a side profile.
Sharpness. Use a tripod, or rest the phone on something solid. Tap to focus on the label. Blur in the source becomes blur in every scene.
One product, nothing else. No hands, price tags or other items. Wipe off dust and fingerprints, because a smudge in the source can carry into every result.
Leave room. Keep the whole product in frame with space around it. Etsy's image help page agrees: shoot further back than you think you need, so you can crop safely.
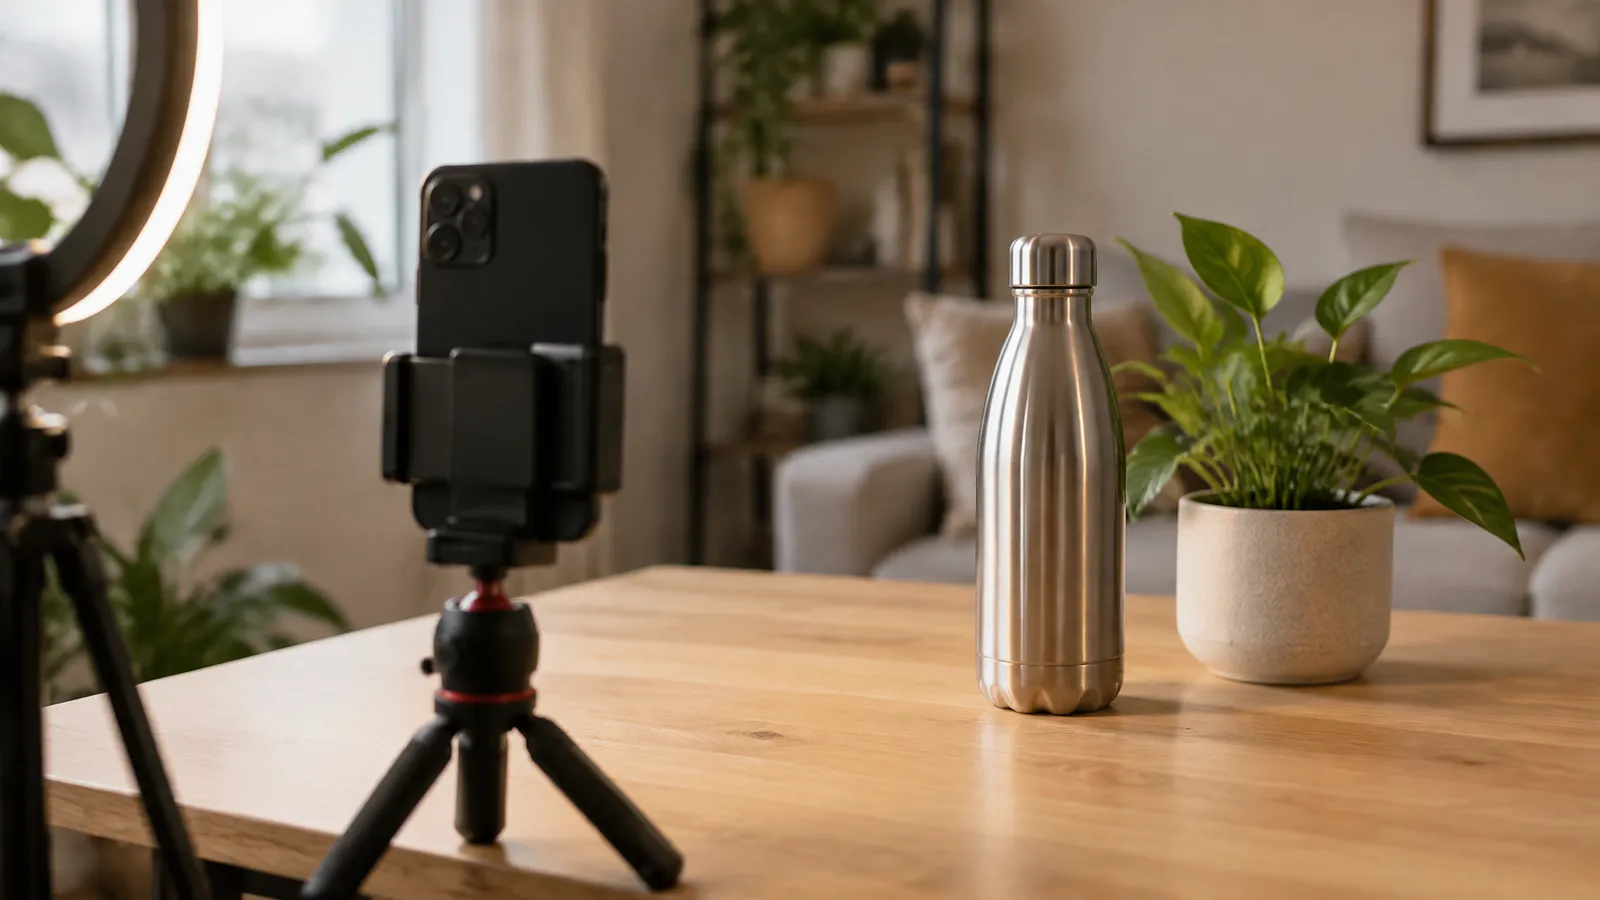
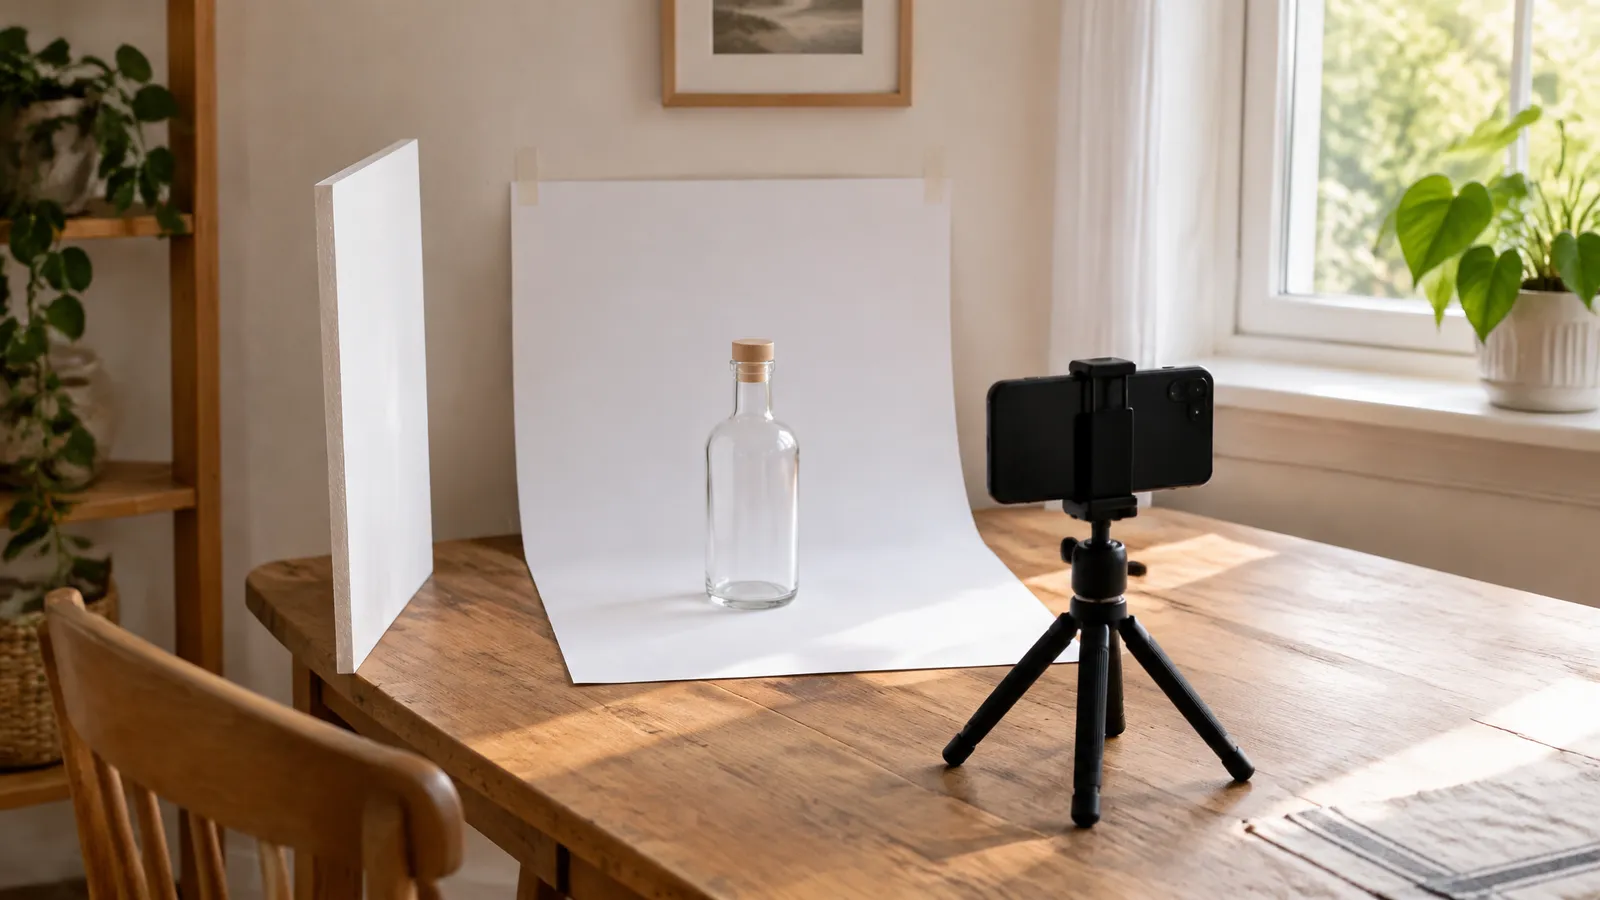 Illustration of a window-lit home setup: paper sweep, phone on a tripod, white board opposite the window.
Step 2: Write the scene prompt
A good scene prompt names the surface, the setting, the light and its direction, the photo style, and what must not change. Use this template:
Place this [product] on [surface] [beside a small prop], [light type] from the [direction], [photo style]. Keep the product [and its label] exactly as they are.
Here it is in use. First, the input.
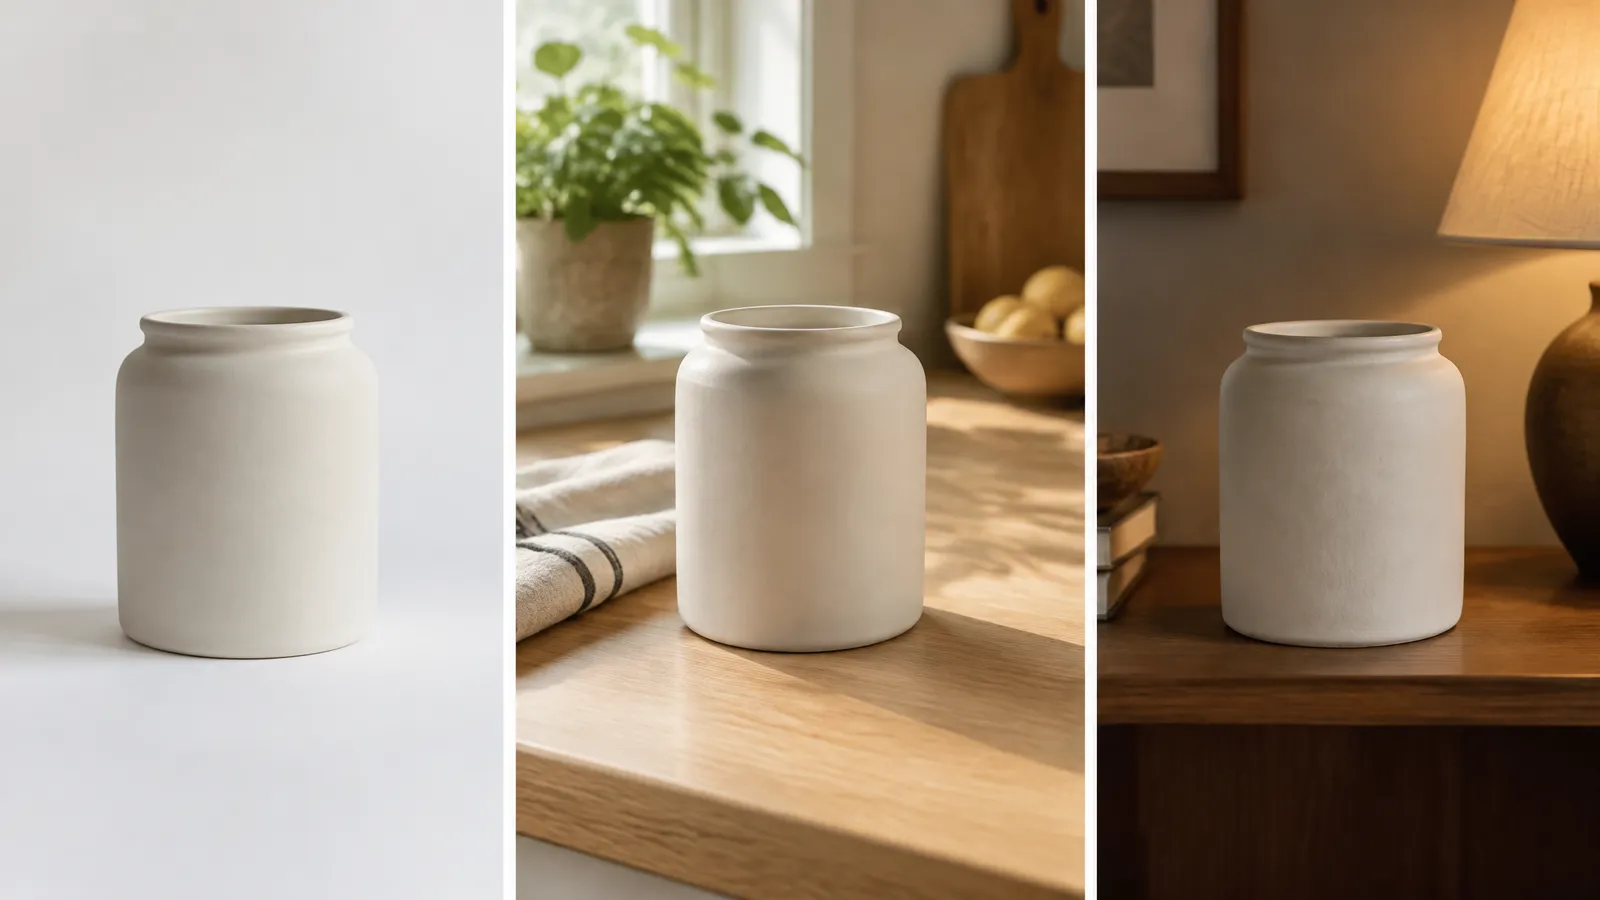
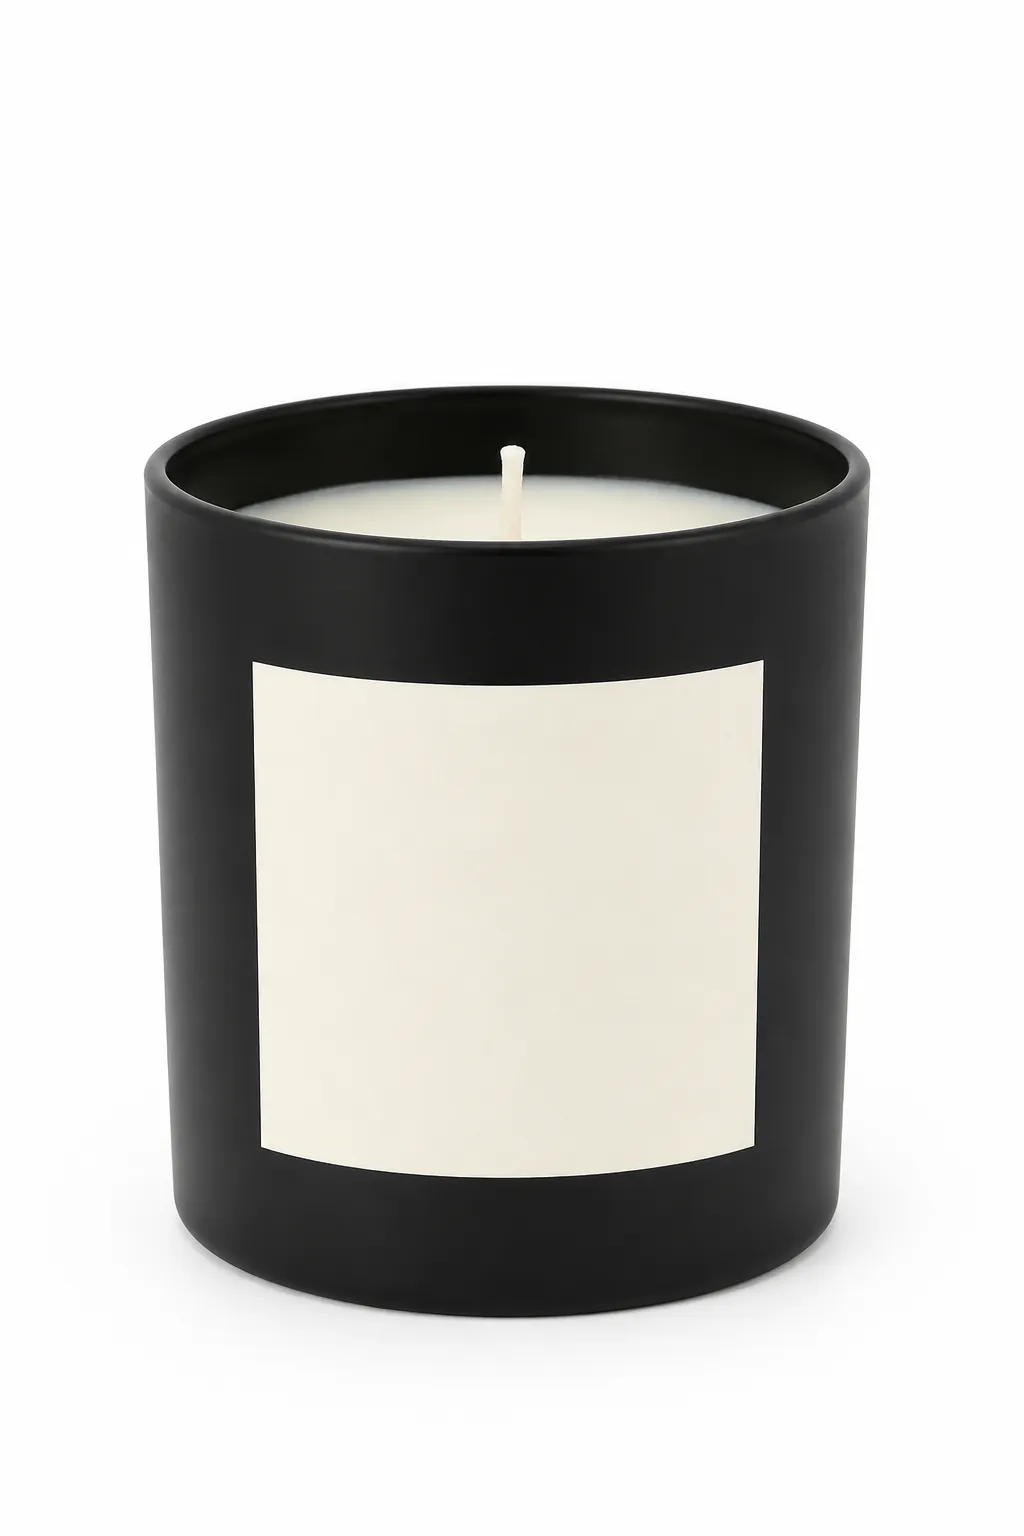 The input: a demo product photo of a candle, itself generated for this demo and not a customer's product.
Prompt: "Place this candle on a light oak kitchen island with a linen cloth, soft daylight from the left, lifestyle advertising photograph. Keep the product and its label exactly as they are."
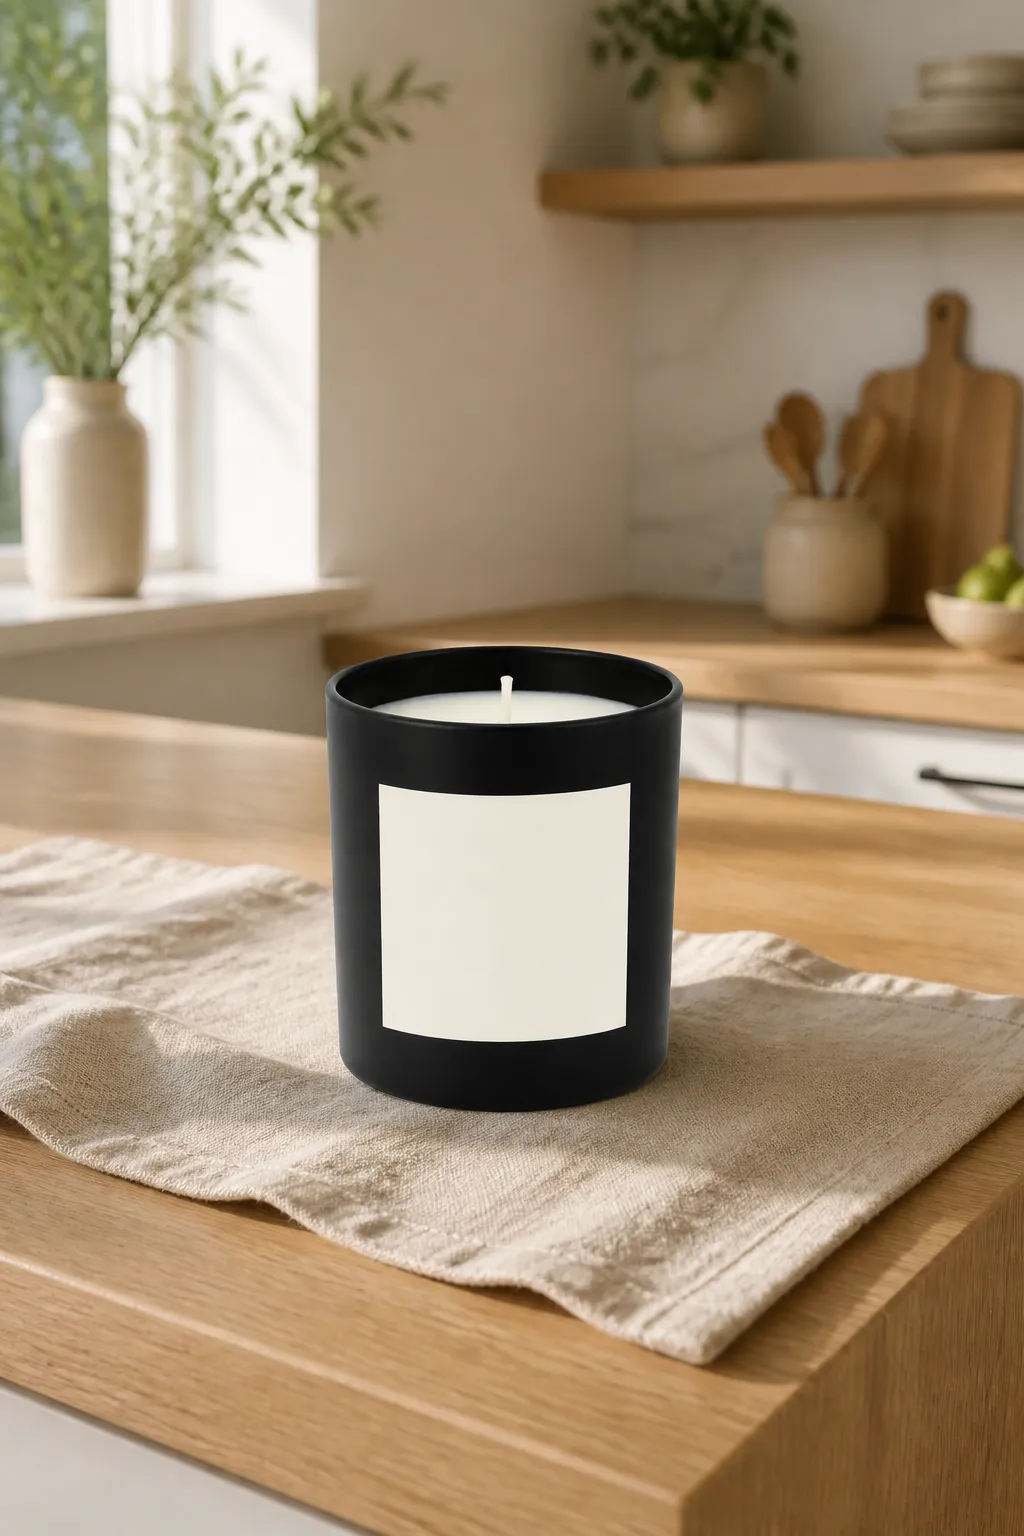 Made with FrameSurfer's Product Photo tool from the demo candle photo above.
Prompt: "Place this candle on a dark walnut shelf beside folded linen, warm lamplight from the right, premium interior advertising photograph. Keep the product and its label exactly as they are."
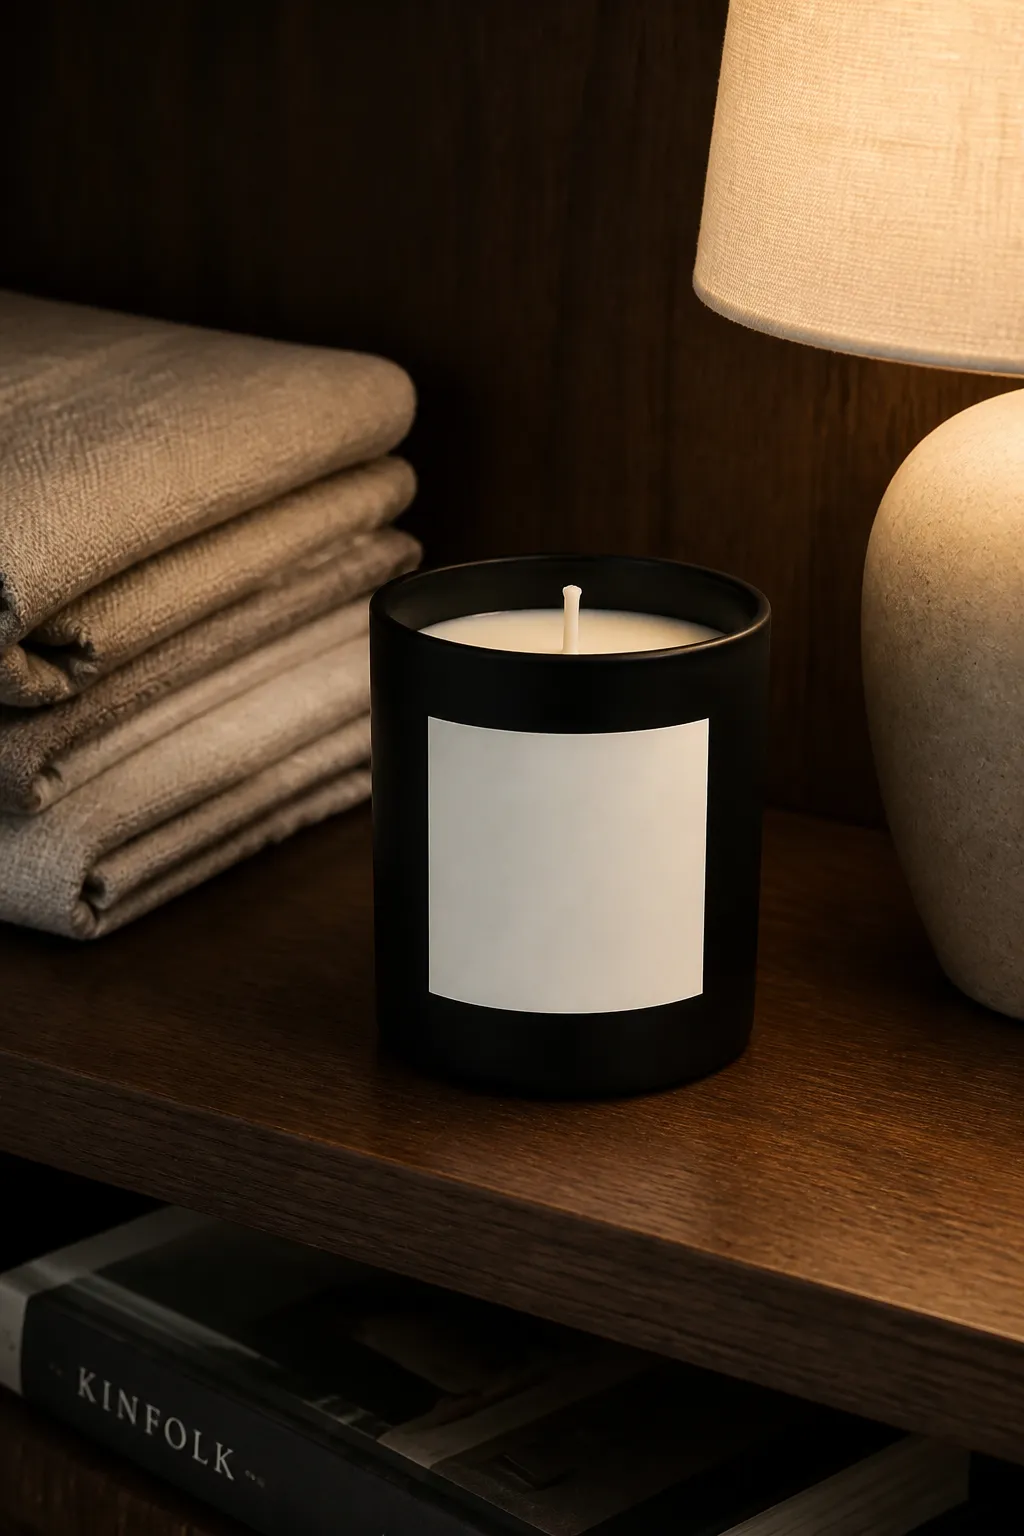 Made with FrameSurfer's Product Photo tool from the same demo candle photo.
Same product, two moods. Only the words changed. The jar shape, matte black finish and blank label stayed the same.
A sneaker is a harder test, with laces, seams and a sole that all need to survive.
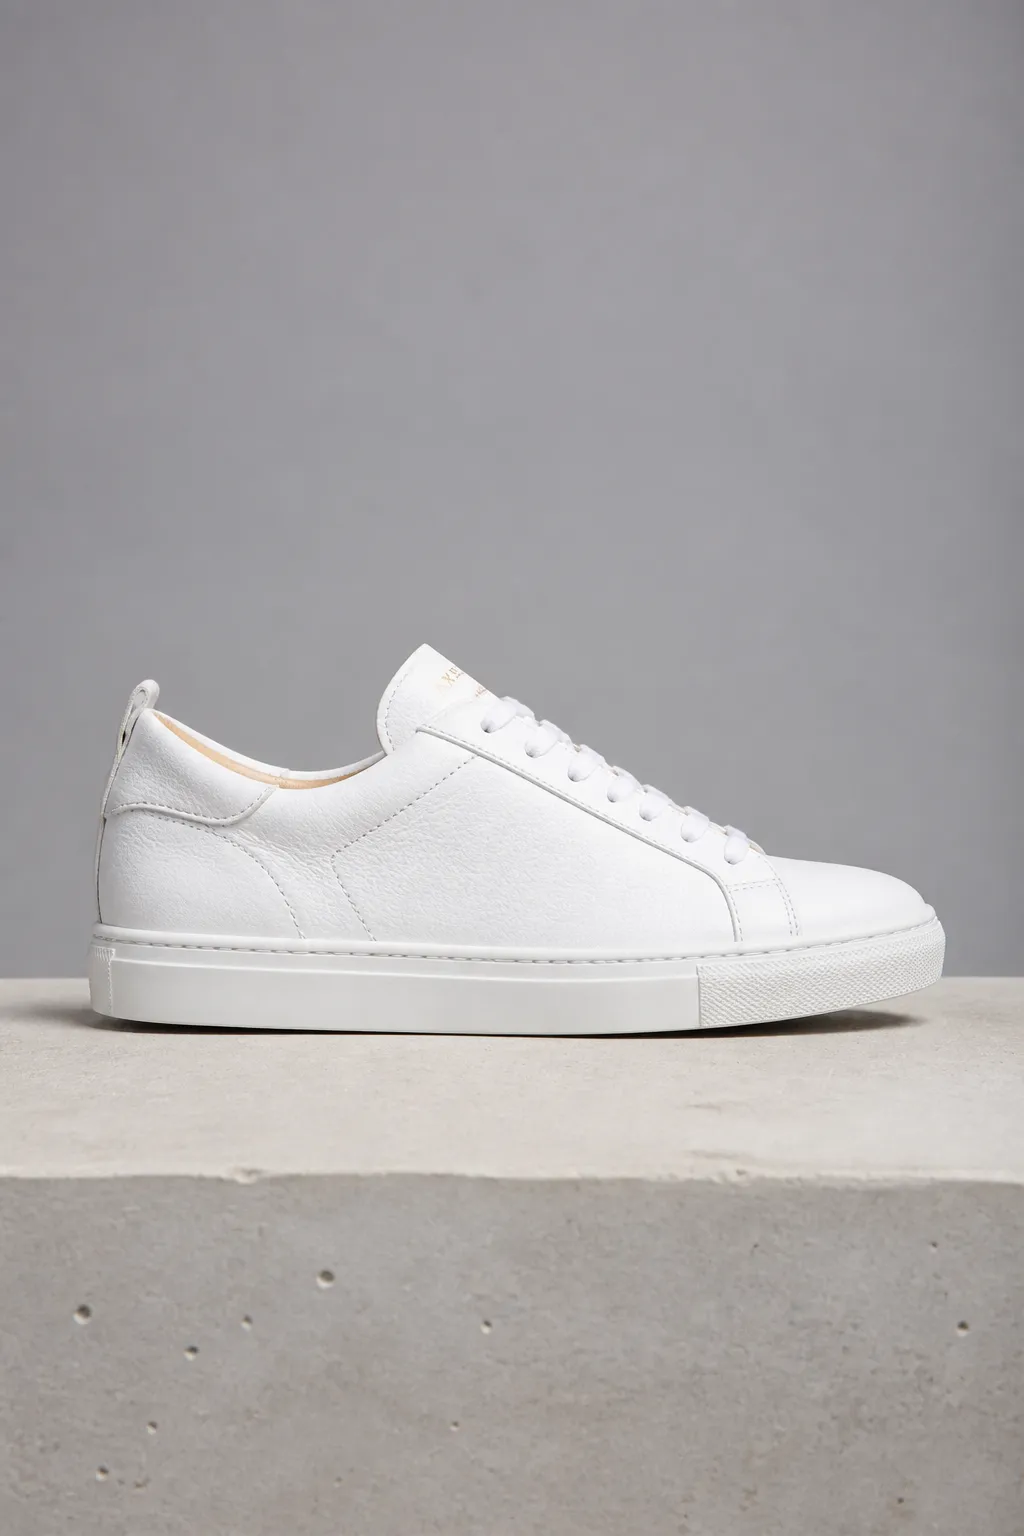 The input: a demo sneaker photo, also generated for this demo.
Prompt: "Place this sneaker on a sunlit concrete step with green foliage behind it, golden hour light, lifestyle advertising photograph. Keep the shoe exactly as it is."
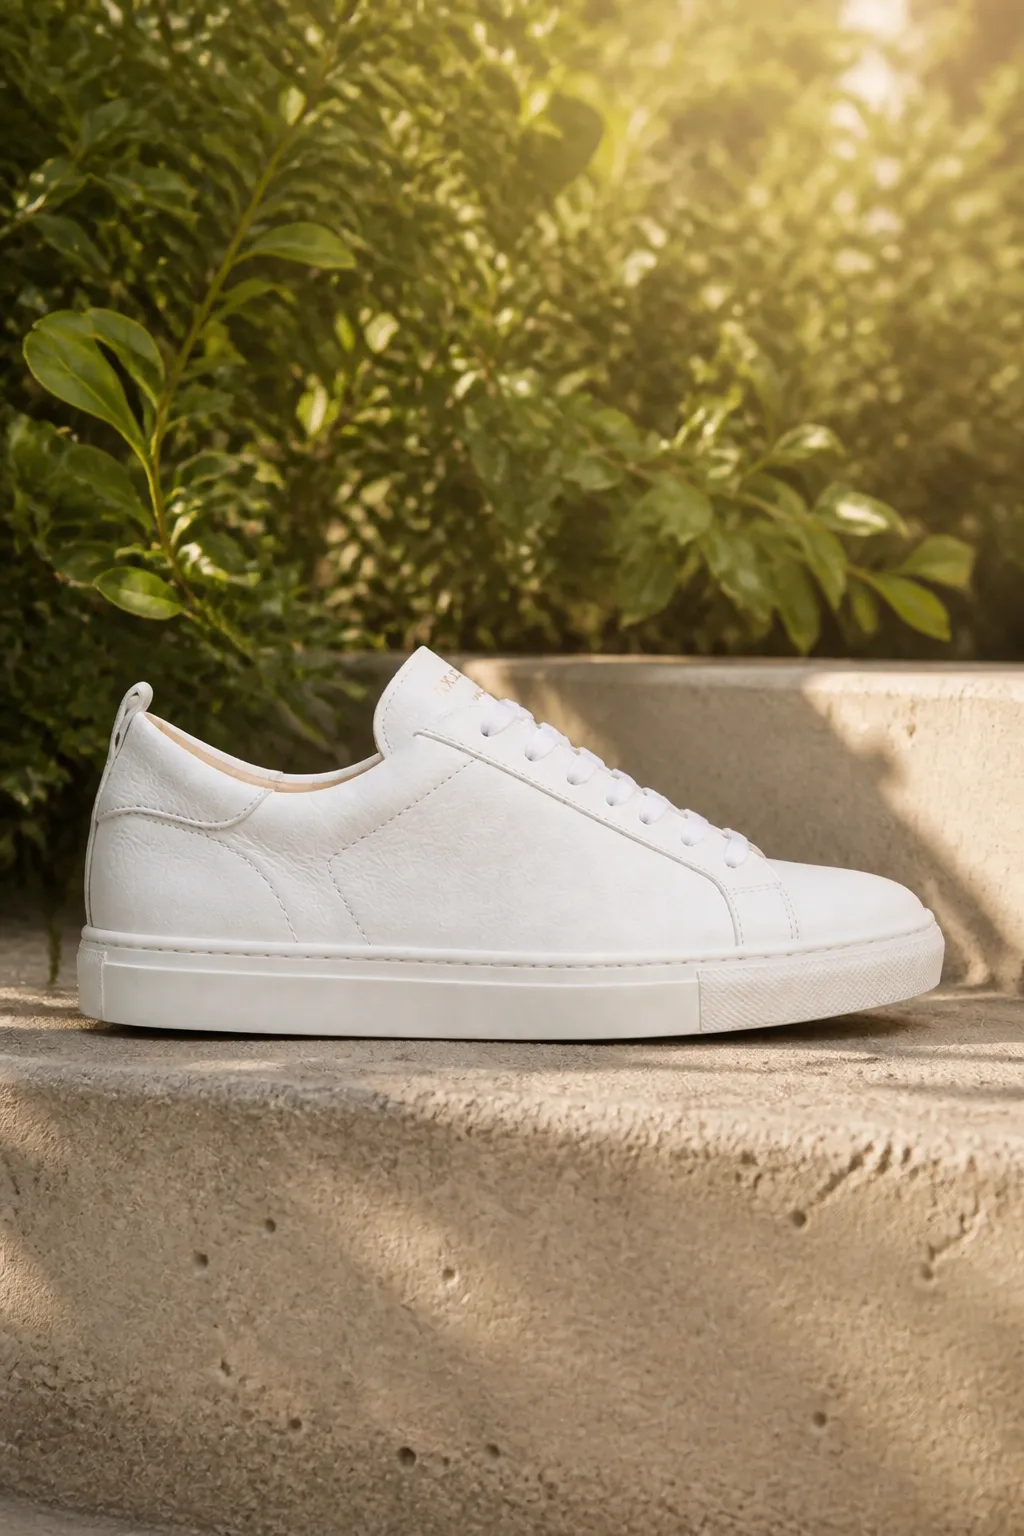 Made with FrameSurfer's Product Photo tool from the demo sneaker photo above.
Prompt tips:
- Write one scene per prompt. Run the tool again for the next one.
- Give the light a direction. Using the same direction across a set makes it look like one shoot.
- Keep props small and clearly separate, so nobody thinks they come in the box.
- End every prompt with the "keep it exactly as it is" line. The tool's own FAQ says it helps.
To try this with your own product, open FrameSurfer's Product Photo tool. Upload the photo once, then run one prompt per scene. Each result is one photo in 9:16, 1:1 or 16:9.
Step 3: Build a full image set
A listing needs more than one nice scene. Amazon recommends at least six additional images and one video on top of the main image, as of September 2026. Plan the set so each image has a job.
| Shot | What it shows the buyer | How to make it |
|---|---|---|
| Main | The product alone, complete | Real photo, on white for marketplaces |
| Lifestyle | Where it lives and how it is used | AI scene |
| Detail | Texture, stitching, finish, label | Real close-up |
| Scale | Size next to a hand or known object | Real photo |
| Variants | Each color or size you sell | Real photo of each variant |
| Seasonal | Holidays, summer, gifting | AI scene |
| Ad and social | A bold scene for vertical feeds | AI scene in 9:16 |
Sometimes you only need one change on a real photo, such as a new backdrop behind a variant shot. Use Image Edit for that. It changes one thing and keeps the rest. Name what should stay, like the label.
Product photography ideas by product type
Put the lifestyle idea into the template's surface slot. The last column is what to shoot for real, because buyers use it to judge the item.
| Product type | Lifestyle scenes | Seasonal idea | Shoot for real |
|---|---|---|---|
| Candles | Bathroom shelf by a towel, bedside table at dusk | Winter windowsill with pine sprigs | Label close-up, lit wick |
| Skincare | Marble counter with water droplets, vanity tray | Poolside tile in soft shade | Texture swatch, ingredients panel |
| Shoes | Concrete step, gym floor, park bench | Autumn leaves on a pavement | Sole, stitching, on-foot shot |
| Jewelry | Linen fabric, ceramic dish, velvet tray | Gift box on a wrapped table | Clasp, stamp, worn for scale |
| Packaged food | Picnic blanket, cafe table, pantry shelf | Holiday table spread | Nutrition panel, front of pack |
| Kitchenware | Stovetop, open shelf, wooden board | Holiday baking scene | Handle, base, size in a hand |
| Tech accessories | Desk with a notebook, bag pocket | Back-to-school desk | Ports, cable ends, fit on the device |
Marketplace image rules, as of September 2026
Check AI scenes against each platform's rules before they go live. Everything below comes from the platforms' own help pages, as of September 2026.
Amazon (Product image guide):
- The main image needs a pure white background (RGB 255, 255, 255).
- The product should take up 85% of the main image, with no part cut off.
- The main image shows one unit, plus only accessories that come with it. No props that are not included.
- Every image must accurately represent the product and match its title.
- Only a limited number of product types may use a lifestyle image as the main image.
- Footwear main images show a single shoe, facing left, at a 45-degree angle.
- Images need at least 500 pixels on the longest side. 1,000 pixels or more turns on zoom.
- Images with photorealistic AI-generated people must carry the keyword contains-synthetic-performer in their metadata.
Shopify (Product media types):
- Square images of 2048 x 2048 pixels usually display best.
- Images can be up to 5000 x 5000 pixels and must be smaller than 20 MB.
- Use one consistent aspect ratio for all featured images.
Etsy (image requirements):
- Etsy recommends listing photos at least 2000 pixels wide and tall.
- The first photo should be at least 635 pixels wide and tall, to avoid showing up lower in search.
- The first photo should be horizontal or square. It sets the shape of the photos that follow.
What this means in practice. Keep a real photo on white as your Amazon main image. Put AI scenes in the other slots. Our demo sneaker could not be an Amazon main image: the backdrop is grey and the toe points right. Also check pixel sizes before upload. Amazon says not to artificially enlarge small images, and Etsy warns that enlarging can cause pixelation.
What goes wrong, and how to catch it
Most problems are easy to miss at thumbnail size and obvious at full size.
| Problem | What to look for | Fix |
|---|---|---|
| Label text warps | Letters that bend, blur or repeat; a logo slightly off | Shoot the label straight on and sharp; drop the image if it still fails |
| Wrong scale | A candle as tall as a vase, a ring too big for a finger | Add a scale cue, such as "beside a coffee mug", and compare with a real photo |
| Fake-looking shadows | The product floats, or the shadow falls away from the light | Name the light direction; reject floating products |
| Changed details | Extra stitching, a new cap shape, fewer buttons, a color shift | Flip between source and result and count the features |
| Invented extras | A lid, strap or box that does not come with the product | Remove it with Image Edit or run the prompt again |
A quick check for every image:
- Open the source and the result side by side at 100% zoom.
- Flip between them and watch for anything on the product that changes.
- Read every word on the label, letter by letter.
- Compare the color with the real product in daylight.
- Ask: would a buyer who opens the parcel feel it matches the picture?
Keep it honest: the photo must match what ships
The scene can be invented. The product cannot. Do not use AI to add a color you do not stock, a feature the product lacks, or an accessory that is not in the box.
Amazon's guide requires images that accurately represent the product. It lists fewer returns from mismatched expectations as one benefit of good images.
A simple test: if a buyer would be surprised when the parcel opens, the image is wrong. That includes props. A candle on a matching tray suggests the tray is part of the order. Keep props generic, or say in the description that they are not included.
Put the photos to work: listings, ads and short clips
Listings. Lead with the real main image. Follow with lifestyle scenes, then detail, scale and variant shots.
Ads and social. Generate vertical 9:16 versions for Reels, TikTok and Stories instead of cropping a square later.
Short clips. FrameSurfer's Image to Video tool uses your photo as the first frame and adds the motion you describe. Describe the motion only, not the look of the product, so the product stays as it is.
Prompt: "The camera orbits slowly around the sneaker as a soft highlight sweeps across the leather. Nothing else moves."
 The first 4 seconds of a clip made with FrameSurfer's Image to Video tool from the demo sneaker photo, shown as an animated image.
Clips run up to 30 seconds, depending on the video model you pick, with generated audio on or off.
Full ads from a product page. Shopify product to video reads a product page's title, price, variants, description and photos. It turns them into a vertical video with a script, voiceover, captions and music.
More on this: AI video generators for product photos and AI UGC ads.
Start with one photo
Pick your best-selling product and shoot one sharp photo by a window. Then open Product Photo, write three scene prompts from the template, and check each result side by side before it goes live. You can upload the photo and write the scenes without an account. Generating runs a paid model, so it needs a FrameSurfer plan.
Frequently Asked Questions
Can you use AI product photos on Amazon?
As of September 2026, Amazon's image guide requires every image to accurately represent the product. Images with photorealistic AI-generated people need a metadata tag. The main image must be on pure white, so use a real photo there and AI scenes in the other slots.
Will AI change my product's label or logo?
It can. FrameSurfer's Product Photo tool is built to keep the product recognizable, and asking for the label to stay unchanged helps. Still, read every word on the label at full size.
What is the best background for a product photo you plan to use with AI?
A plain white or light background, with the whole product in frame and space around it. A plain background gives the model the most to work with.
Is there free AI product photography?
Shooting the source photo needs only a phone and a window. In FrameSurfer you can upload the photo and write the scene without an account. Generating runs a paid model and needs a plan.
Can I use AI product photos commercially?
Under FrameSurfer's terms you own what you create and can use it personally or commercially. Each marketplace's image rules still apply.
Do I still need a product photographer?
For main images, close-ups and exact color, a good real photo still matters. AI scenes replace the extra setups: the kitchen, the shelf, the holiday table.